During Coronavirus pandemic, we all must try our best to act responsibly and protect ourselves and everyone around us. That means that wearing a mask should be something we do whenever we go out. So, we can make a 3D face mask which is much more comfortable. All you have to do is make a 3D face mask pattern and start sewing, simple as that.
SUPPLIES AND TOOLS

- fabric – 100% tightly woven cotton
- 1/16″ round elastic or 1/8″ flat elastic – 2 x 7-8″ long matching thread thread
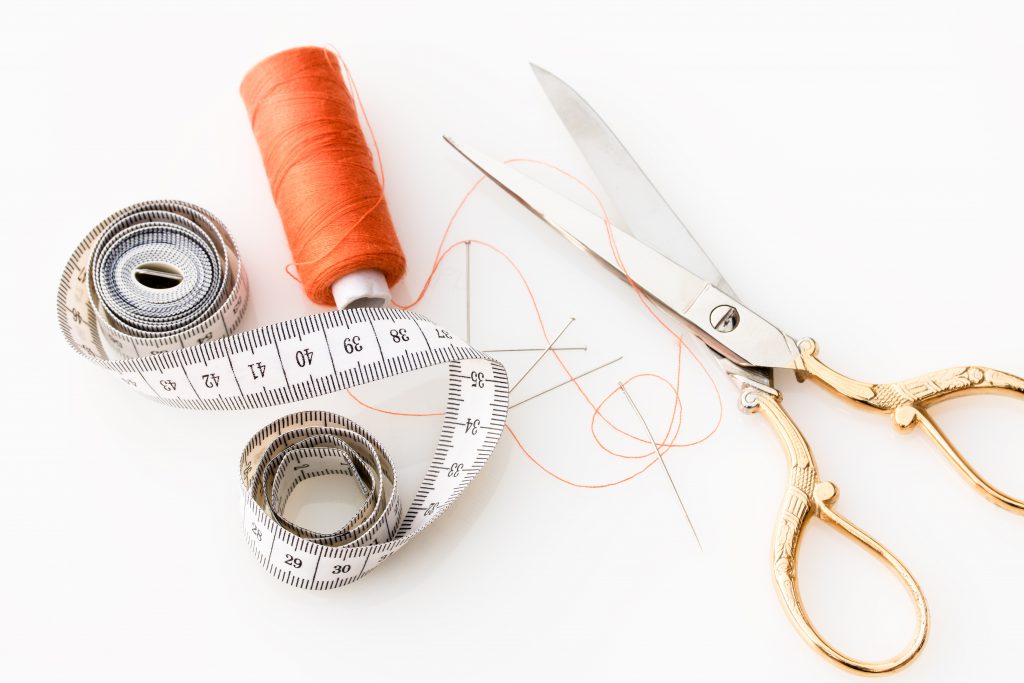
- scissors
- measuring tape
- sewing machine (or you can hand sew)
INSTRUCTIONS
STEP 1: Prepare the pattern
Download and print the pattern without any scaling (print at actual size / 100%). The pattern includes 4 different sizes – S, M, L, and XL. Cut out the size you need.
STEP 2: Cut the fabric for the mask

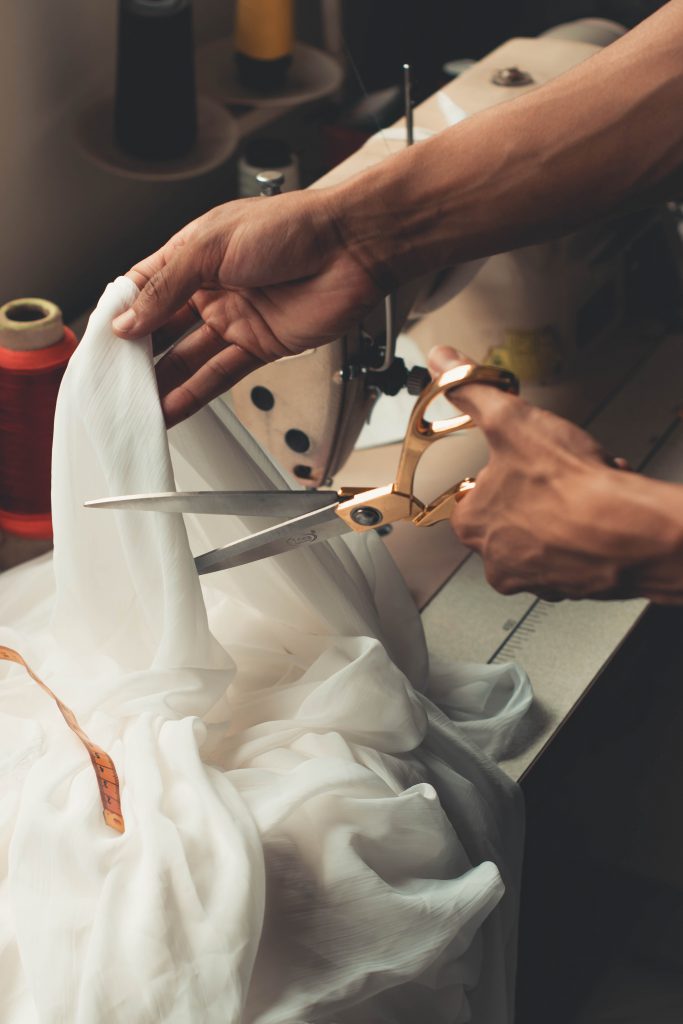
Unfold the pattern you made earlier and set it on top of the fabric. Mark the fabric with sewist chalk or a washable pen, using the pattern as a guideline. Cut the fabric along those lines.
STEP 3: Layer the mask
Find the middles. Fold each of the three parts of your mask in half and fingerpress to mark the middle. Then, place the lining fabric on a flat surface with the right side up, then place the filter pocket on top of it, and finally place the main fabric on top with the wrong side up. Align the middle of all pieces and pin.
STEP 4: Sew top and bottom
Sew all around the edges with a quarter-inch seam allowance. Leave both sides unstitched so that you can turn the whole thing inside out through it.
STEP 5: Nose wire channel
Turn the fabric inside out through the opening you left earlier. Then insert the nose wire into the fabric piece and set it all the way to the center on the top edge, where the curves are. Secure the wire with pins. Stitch the wire in place.
STEP 6: Fold and press
Fold the mask in half lengthwise. Unfold and fold top and bottom towards the middle crease. Press with an iron and pin in place. Stitch the folds in place.
STEP 7: Make the three-dimensional form
Grab the bottom left corner of the folded section. Pull it up and slightly to the left, almost as if you were folding that section in half lengthwise. Repeat on the lower side as well. Two new corners will be touching now, one from the top with the one on the bottom. Make a stitch across from top to the bottom, going through both those corners. Repeat all these steps on the right side.
STEP 8: Insert elastic
Tuck both side edges in and insert elastic in the opening. Pin or clip in place.
Well done, your DIY 3D face mask is complete!


